How to Set Up a Ready-Made Live2D Model in VTube Studio
You bought a rigged model and now you have a folder of files you have never seen before. This walks through importing it into VTube Studio, calibrating tracking, fixing the usual problems, and getting it into OBS with a transparent background.

Buying a ready-made Live2D model is the fastest way to start as a VTuber: no commission queue, no rigging, no three-figure deposit. What you get instead is a folder with a .model3.json, a .moc3, a texture folder and a physics file — and no obvious place to put them.
Here is the whole path from that folder to a model moving on stream.
What the files are
- .model3.json — the file you actually load. It points at everything else.
- .moc3 — the rig itself: the mesh and how it deforms.
- .physics3.json — hair and clothing physics.
- .cdi3.json / .pose3.json — parameter names and pose data, when the model has them.
- textures folder — the artwork.
Keep them together in one folder. Moving a single file out breaks the model, because the .model3.json references the others by relative path.
Importing into VTube Studio
- Open VTube Studio once so it creates its folders.
- Find the Live2DModels folder. The easiest route is the in-app button that opens it for you — on Steam it sits in the model settings area; you can also reach it through the app's file browser option.
- Create a subfolder named after your model and drop the whole package inside:
Live2DModels/MyModel/. - Back in VTube Studio, open the model list and refresh. Your model appears as a thumbnail. Click it to load.
If it does not show up, the cause is nearly always one of two things: the files are nested one folder too deep, or you copied only the .model3.json without its siblings.
Calibrate tracking before you judge the model
A model that looks stiff or drifts is usually a calibration problem, not a rigging problem. Sit the way you normally sit when you stream, face the camera straight on, and run the calibration from the tracking settings. Do it with your real lighting, not a brightly lit test setup.
Three settings worth adjusting afterwards:
- Smoothing. Raise it if the model jitters; lower it if your movement feels delayed.
- Parameter ranges. If your head barely turns on screen while you turn a lot, widen the input range for that parameter instead of exaggerating your movement.
- Mouth sensitivity. Set it while actually talking at stream volume. Mouths calibrated in silence either never close or never open.
Webcam tracking works fine for most people. An iPhone with ARKit tracking is noticeably better for eyes and mouth shapes, but it is an upgrade, not a requirement.
Hotkeys and expressions
Most rigged models ship with expressions — blush, tears, anger marks, an alternate outfit toggle. In VTube Studio they are bound in the hotkey settings: pick the expression, assign a key, test it.
Two habits that save you on stream: use keys you can hit without looking, and keep a “reset all” hotkey. Streaming for an hour with a blush you cannot turn off is a rite of passage you can skip.
Getting the model into OBS with a transparent background
Two ways, and the second is better.
Window capture. Capture the VTube Studio window, then crop and chroma-key the background colour. Quick, but the key eats thin hair edges and you fight it forever.
Spout2 (recommended). Install the Spout2 plugin for OBS, enable Spout2 output in VTube Studio, and add a Spout2 Capture source in OBS. You get the model with real transparency, no colour keying, no crop. Clean alpha edges, and you can resize freely.
Then build the scene in the order that actually works: background at the bottom, model above it, overlay frame and chat on top. Our VTuber background layering guide goes through that stack in detail, and this one covers browser sources if the overlay part is new to you.
Common problems
- Model loads but does not move. Tracking is off or the camera is used by another app. Close anything else holding the webcam.
- Jittery movement. Poor lighting first, smoothing second. A cheap key light fixes more than any setting.
- Eyes stuck closed or half-closed. Re-calibrate in your real lighting; glasses glare and backlight both confuse eye tracking.
- Hair physics going wild. Lower the physics strength in the model settings rather than editing the physics file.
- Blurry model in OBS. You are scaling a small capture up. Set a larger output resolution in VTube Studio and scale down in OBS instead.
- Green edges around hair. Chroma key artefacts — the reason to switch to Spout2.
Finish the look
A model on a plain colour reads as unfinished. An animated room behind it does more for the vibe of a VTuber stream than any other single asset, because it fills the dead space your model does not occupy:
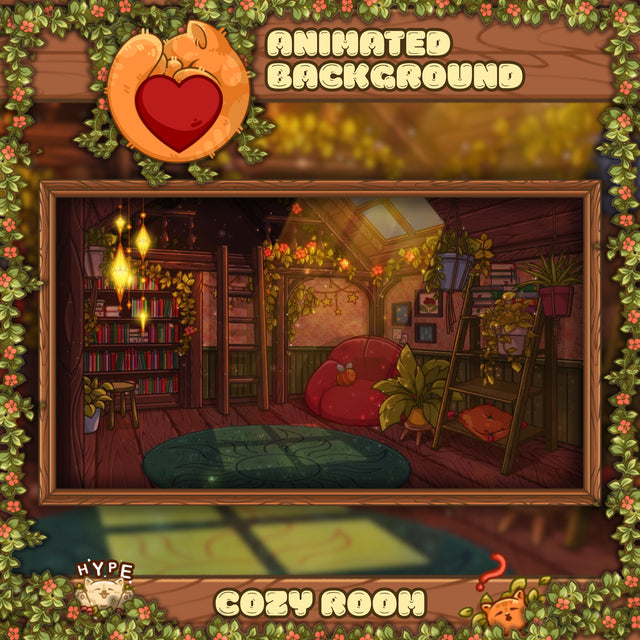 Animated BackgroundCozy Room Animated VTuber Background
$9.99
 Animated BackgroundEnchanted Forest Animated VTuber Background
$9.99
 Animated BackgroundGothic Vampire Room Animated VTuber Background
$9.99
Set the model up once, save the scene, and the only thing left to do each stream is press Go Live.